Hydroponics

316 readers
10 users here now

A community dedicated to every form of hydroponics, a technique for growing plants without soil.

Everything regarding hydroponics is welcome here - from your houseplant in LECA to big scale commercial farming.

Credits:

founded 8 months ago
MODERATORS
1


TL;DR

You can buy shot dispensers, that dose a certain amount of liquid (usually 20 ml) with each pour, and then make your own stock solution for your fertilizer.

With that, you can create your nutrient solutions WAY quicker and don't have to measure anything.

I have made it that one shot per watering can equals the exact dosing recommendations for the final nutrient solution, with the extra benefit that the fertilizer doesn't spoil.

Why?

Measuring and dosing fertilizer can be a tedious task.

I for example use Masterblend for my hydroponic setups, including all of my houseplants, which is a 3-part fertilizer that comes in form of a highly concentrated powder and includes everything the plant needs.

You can still use liquid nutrients if you prefer, especially if you need smaller amounts. I personally like to mix it myself, because it's way cheaper than having someone else dissolving salt for you and then slapping a premium price tag on it ;)

Most of my dosing is done for very small volumes, e.g. one liter. Having to weight the exact amounts (usually in the range of less than 1 g) every single time I refill my small watering can would be very impractical to say it at least.

But even when using an one-part liquid fertilizer that's meant for soil or house plants, it can be annoying to use the dosing cap every time.

I highly recommend to add fertilizer every time you water your plants.
You don't want to eat your day's worth of calories in one sitting, and your plants feel the same, even though dosing recommendations tell you otherwise.
Adding those huge amounts of minerals can be a big stress factor for many sensitive plants, and spacing the nutrients gives the plants more time to absorb them properly.

How?

Here's how I made it. Take it as an inspiration for your workflow if you want.

  1. Mix the Masterblend with the Magnesium sulphate in a ratio of 2:1.
  2. If you need big amounts at once, e.g. for refilling your reservoir with 20 liters, you still have to weight the amounts individually. For the final nutrient solution, you'll need 0,8 g/l of your Masterblend and epson salt mix, which I will from now on call part A, aswell as 0,53 g/l of Calcium nitrate.
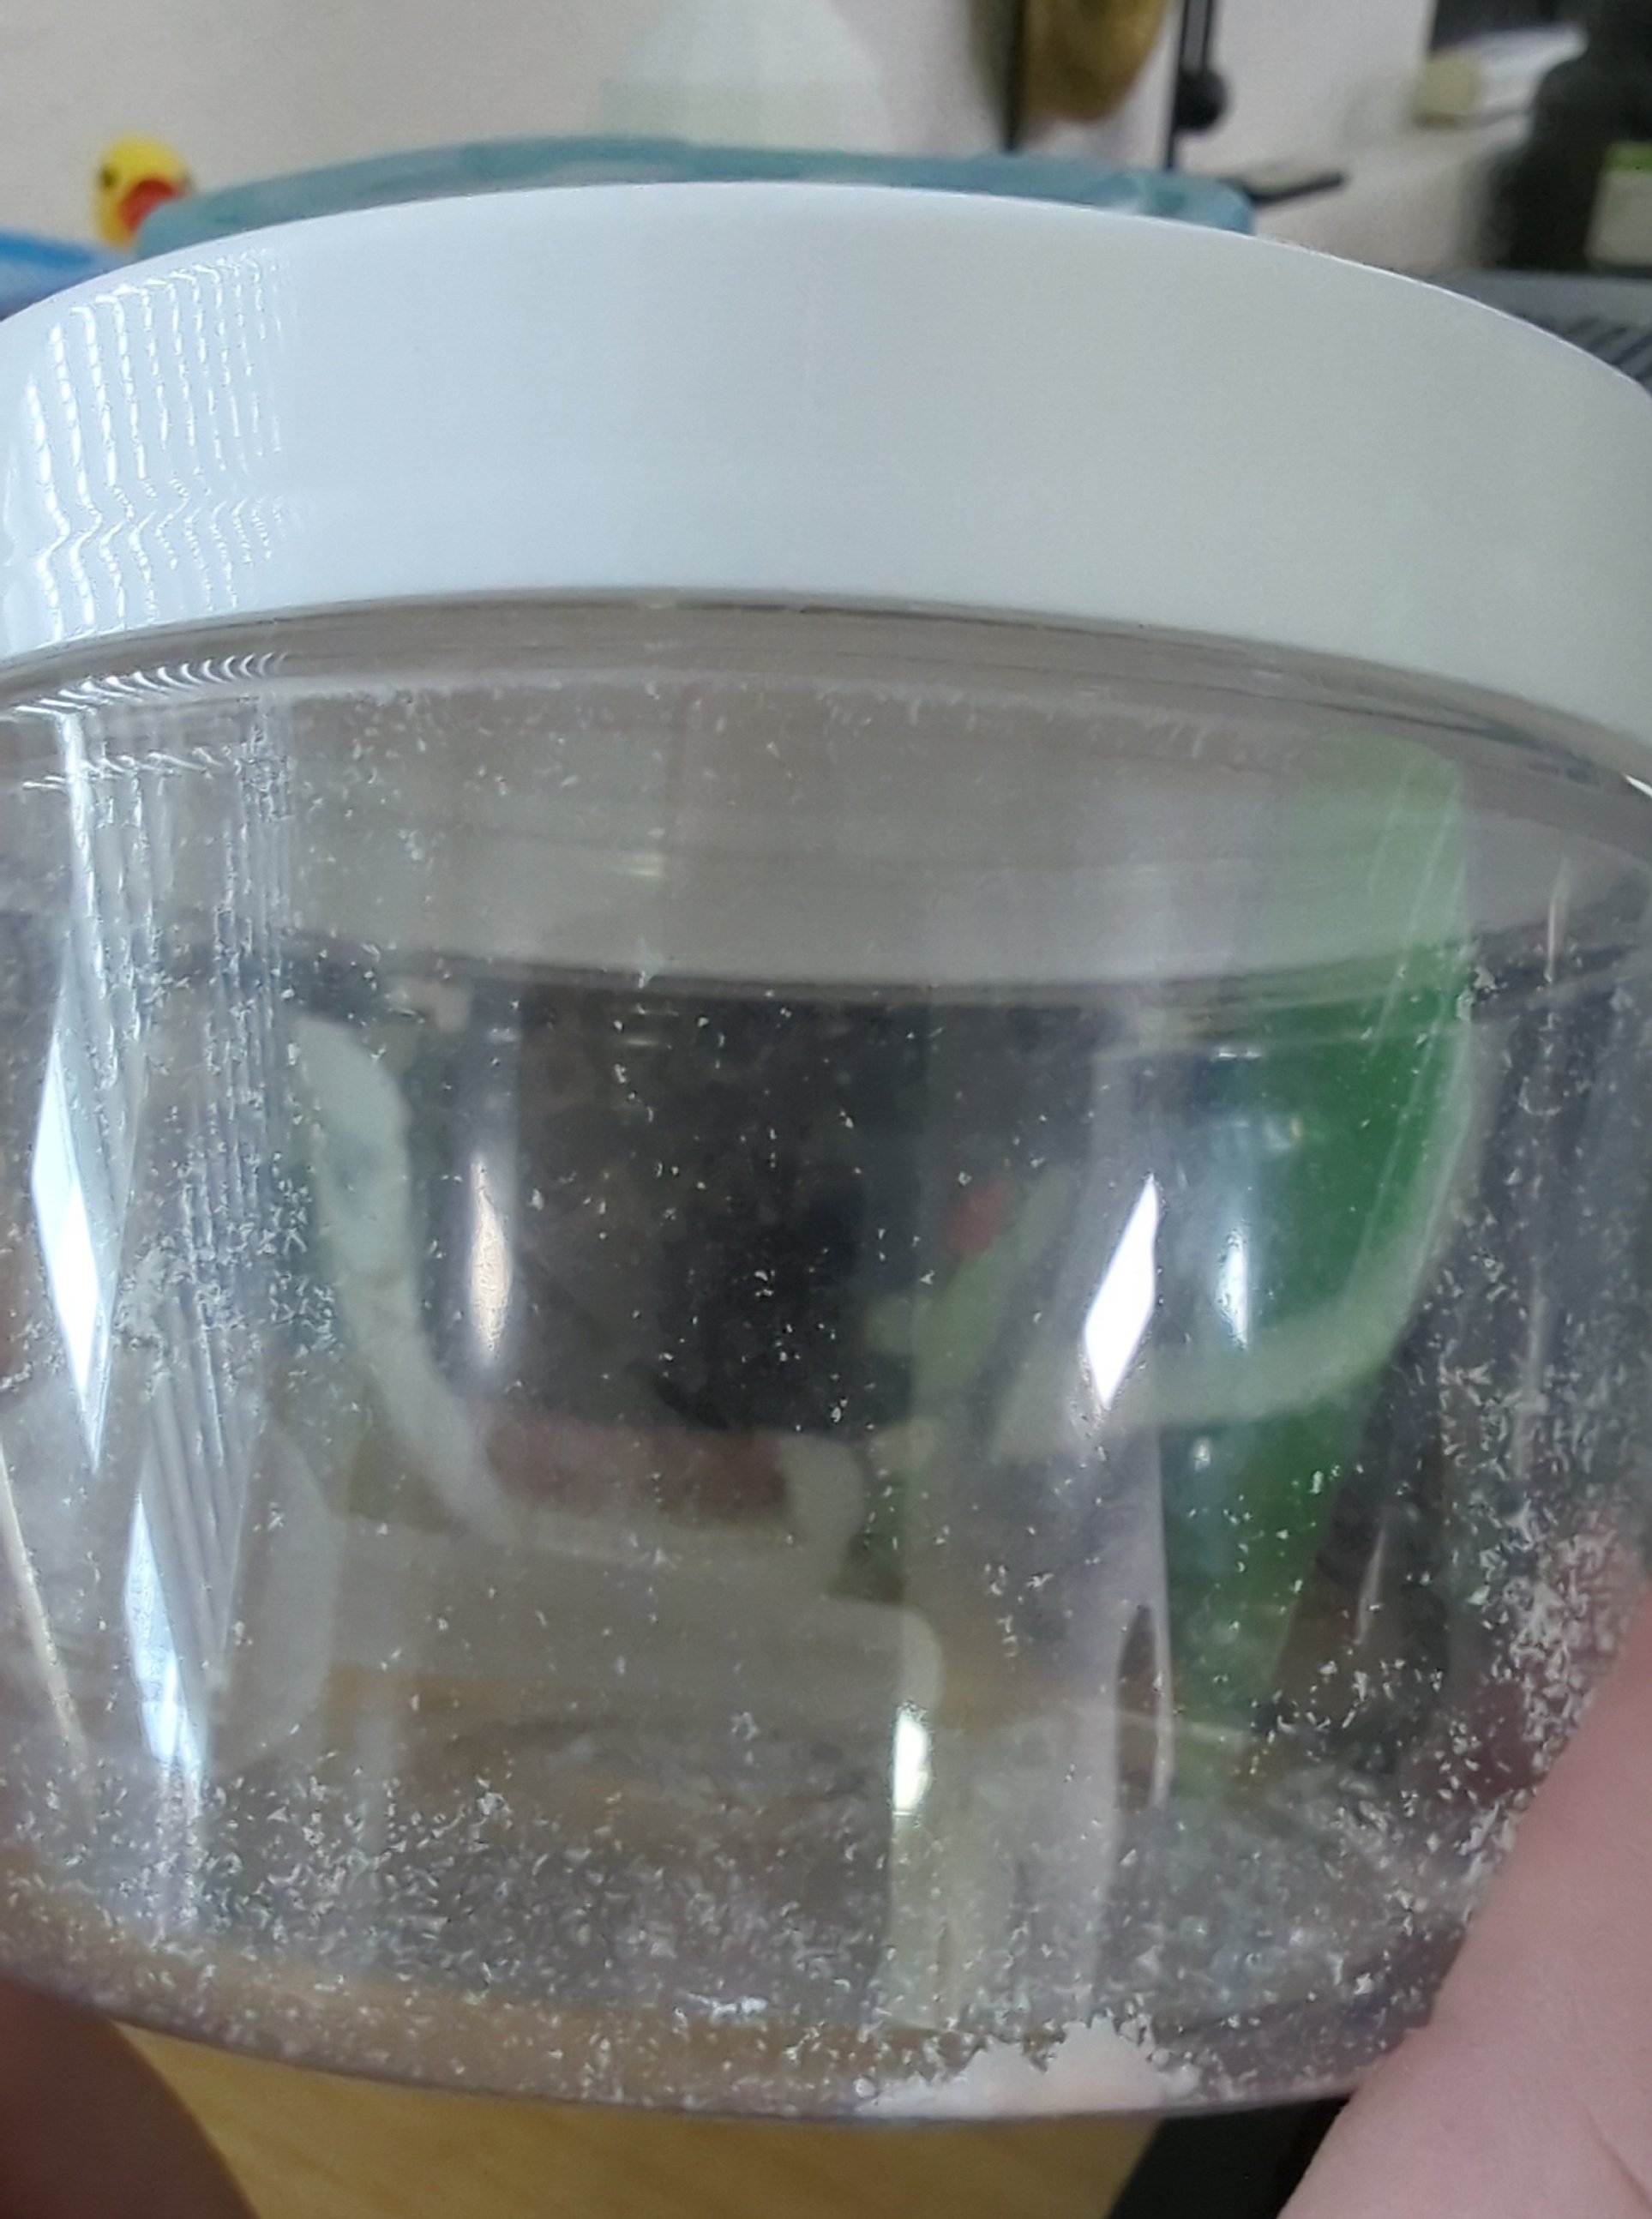
  3. I now dissolve 30 g of part A and 20 g of part B individually in water and add it do a 750 ml bottle.
  4. When everything is dissolved, I can now add one shot each from solution A and B into my 1 l watering can and then fill it up with rainwater, which gives me the exact amount most of my plants need.

2
3


Last year, I built a solar powered, off-grid hydroponic system, that was meant to be used outside and provide a very solid setup.

I made a extensive post about it, you can read it here.

I've been really happy with it, so I switched my whole balcony front row (6 pots) to it, improved it and fixed some pain points I had last year.

Each pot holds about 10 liters of nutrient solution and 30 l of LECA when completely filled.

Even though they are very big in size (and can support very large plants), each pot had a weight of about 15 kg under normal conditions the last time I lifted it.

Problems and fixes

My first problem last year was the substrate itself.

I used lava rock, because I got it cheap from a store nearby, and is supposed to be a great hydro medium.
I found it to be too heavy, dusty, hard to clean after use, and too sharp on the edges, hurting the roots after each wind or moving of the pot.

I now changed the substrate to LECA (hydroton/ expanded clay pebbles), which I found very inexpensive online, and doesn't have the cons I listed. It's very airy/ lightweight, has smooth edges, doesn't hurt as much when you step on it (a feeling worse than stepping on a LEGO brick!) and wicks water better than lava.

I also improved the air flow by using net cups for ponds. Sadly, I already noticed them bending and one slipping through, so I had to melt the edges of the outer pots a bit, to create an edge that holds everything in place.

It will be way easier to lift them out now, since I attached some cords in the corners.

I also added a fine mesh and some wood floor tiles I had left over, which will prevent any debris (leaves, dead insects, cat hair, etc.) from flying into the reservoir and rotting.

The mesh is fixed to the inner pot by a velcro for easy removal.

I also added a filter sponge for the pump to prevent any clogs due to plant debris or rocks falling through.

Why this setup specifically?

Over the last year, I tried a few different setups. Kratky, DWC, etc., you name it.

I needed something robust for outdoor growing. I hate the idea of a single pump failure killing everything I worked for the last months.

So I made this setup, which is basically the same passive LECA hydroculture (semi-hydro) I use indoors too for my houseplants, but assisted with a weak USB pump that is powered by small individual solar panels.

This helps keeping the solution aerated and moving, but without the need for an air stone. The LECA has such a big surface area, that the gas exchange happens passively by diffusion.

It also prevents a salt crust from forming due to increased evaporation in summer. There's still some evaporation, but that helps cooling the roots in summer heat. Besides that, it also assists in properly irrigating the plants when they are smaller and the roots can't reach the nutrient solution.

Everything is modular, cheap and replaceable, and it can run without power for weeks theoretically.

The main reasons I built it, besides the pros I already mentioned, compared to other setups are:

  1. I hate the constant noise that the air stones and pump made in my DWC setup last year, and this setup is almost completely silent.
  2. It is hard to place trellises/ supports/ clips onto classic hydro setups. Here, we can just poke them into the LECA and everything is locked into place.
  3. Many setups, like DWC, are too heavy for my balcony and use too much nutrient solution for my taste.

I will post more pictures once the plants I prepared are placed outdoors into the pots.

I've had it running now for a few weeks, to flush out the LECA and to see how it performs, just in case some major problem arises. For now, it looks very very promising.

4


Hi! As said in the title I’m complete noob in growing food, but I’m excited to learn about hydroponics. I’ve 3d printed this small tower and trying to grow Basil, Lettuce and parsley.

This is my second attempt at hydroponics and even tho I thought I researched everything I failed the last time. Any tips and recommendations would be appreciated!

If anyone could help me figure it out, I have these questions:

  1. At what stage of growth should I put seedling in the system?

This is their current stage and I put them in system today

2 What should be the pump cycle? Currently I have it running for 10 minutes every 3 hours

3 What would be the ideal temperature for water and room temperature?

4 Should I invest and install grow lights immediately or am I fine for letting them be next to window for a week at least?

Any help would be greatly appreciated! :)

5


Hello. I am new to this community. I have been reading much about Airoponics and would like to get started. Can't find a specific community, though. Can I generally use the advice here for an Auroponics setup as well?

Thank you for your thoughts.

6
7


I finally did it, i bought rolling feet for my Hydroponic Plants

I cant recommend that enough, its finally not a fight to get the Plant and 10-15l of water in Place, even if its just rotating them... I should have done that earlier.

I also cleaned the Hydrosytem 
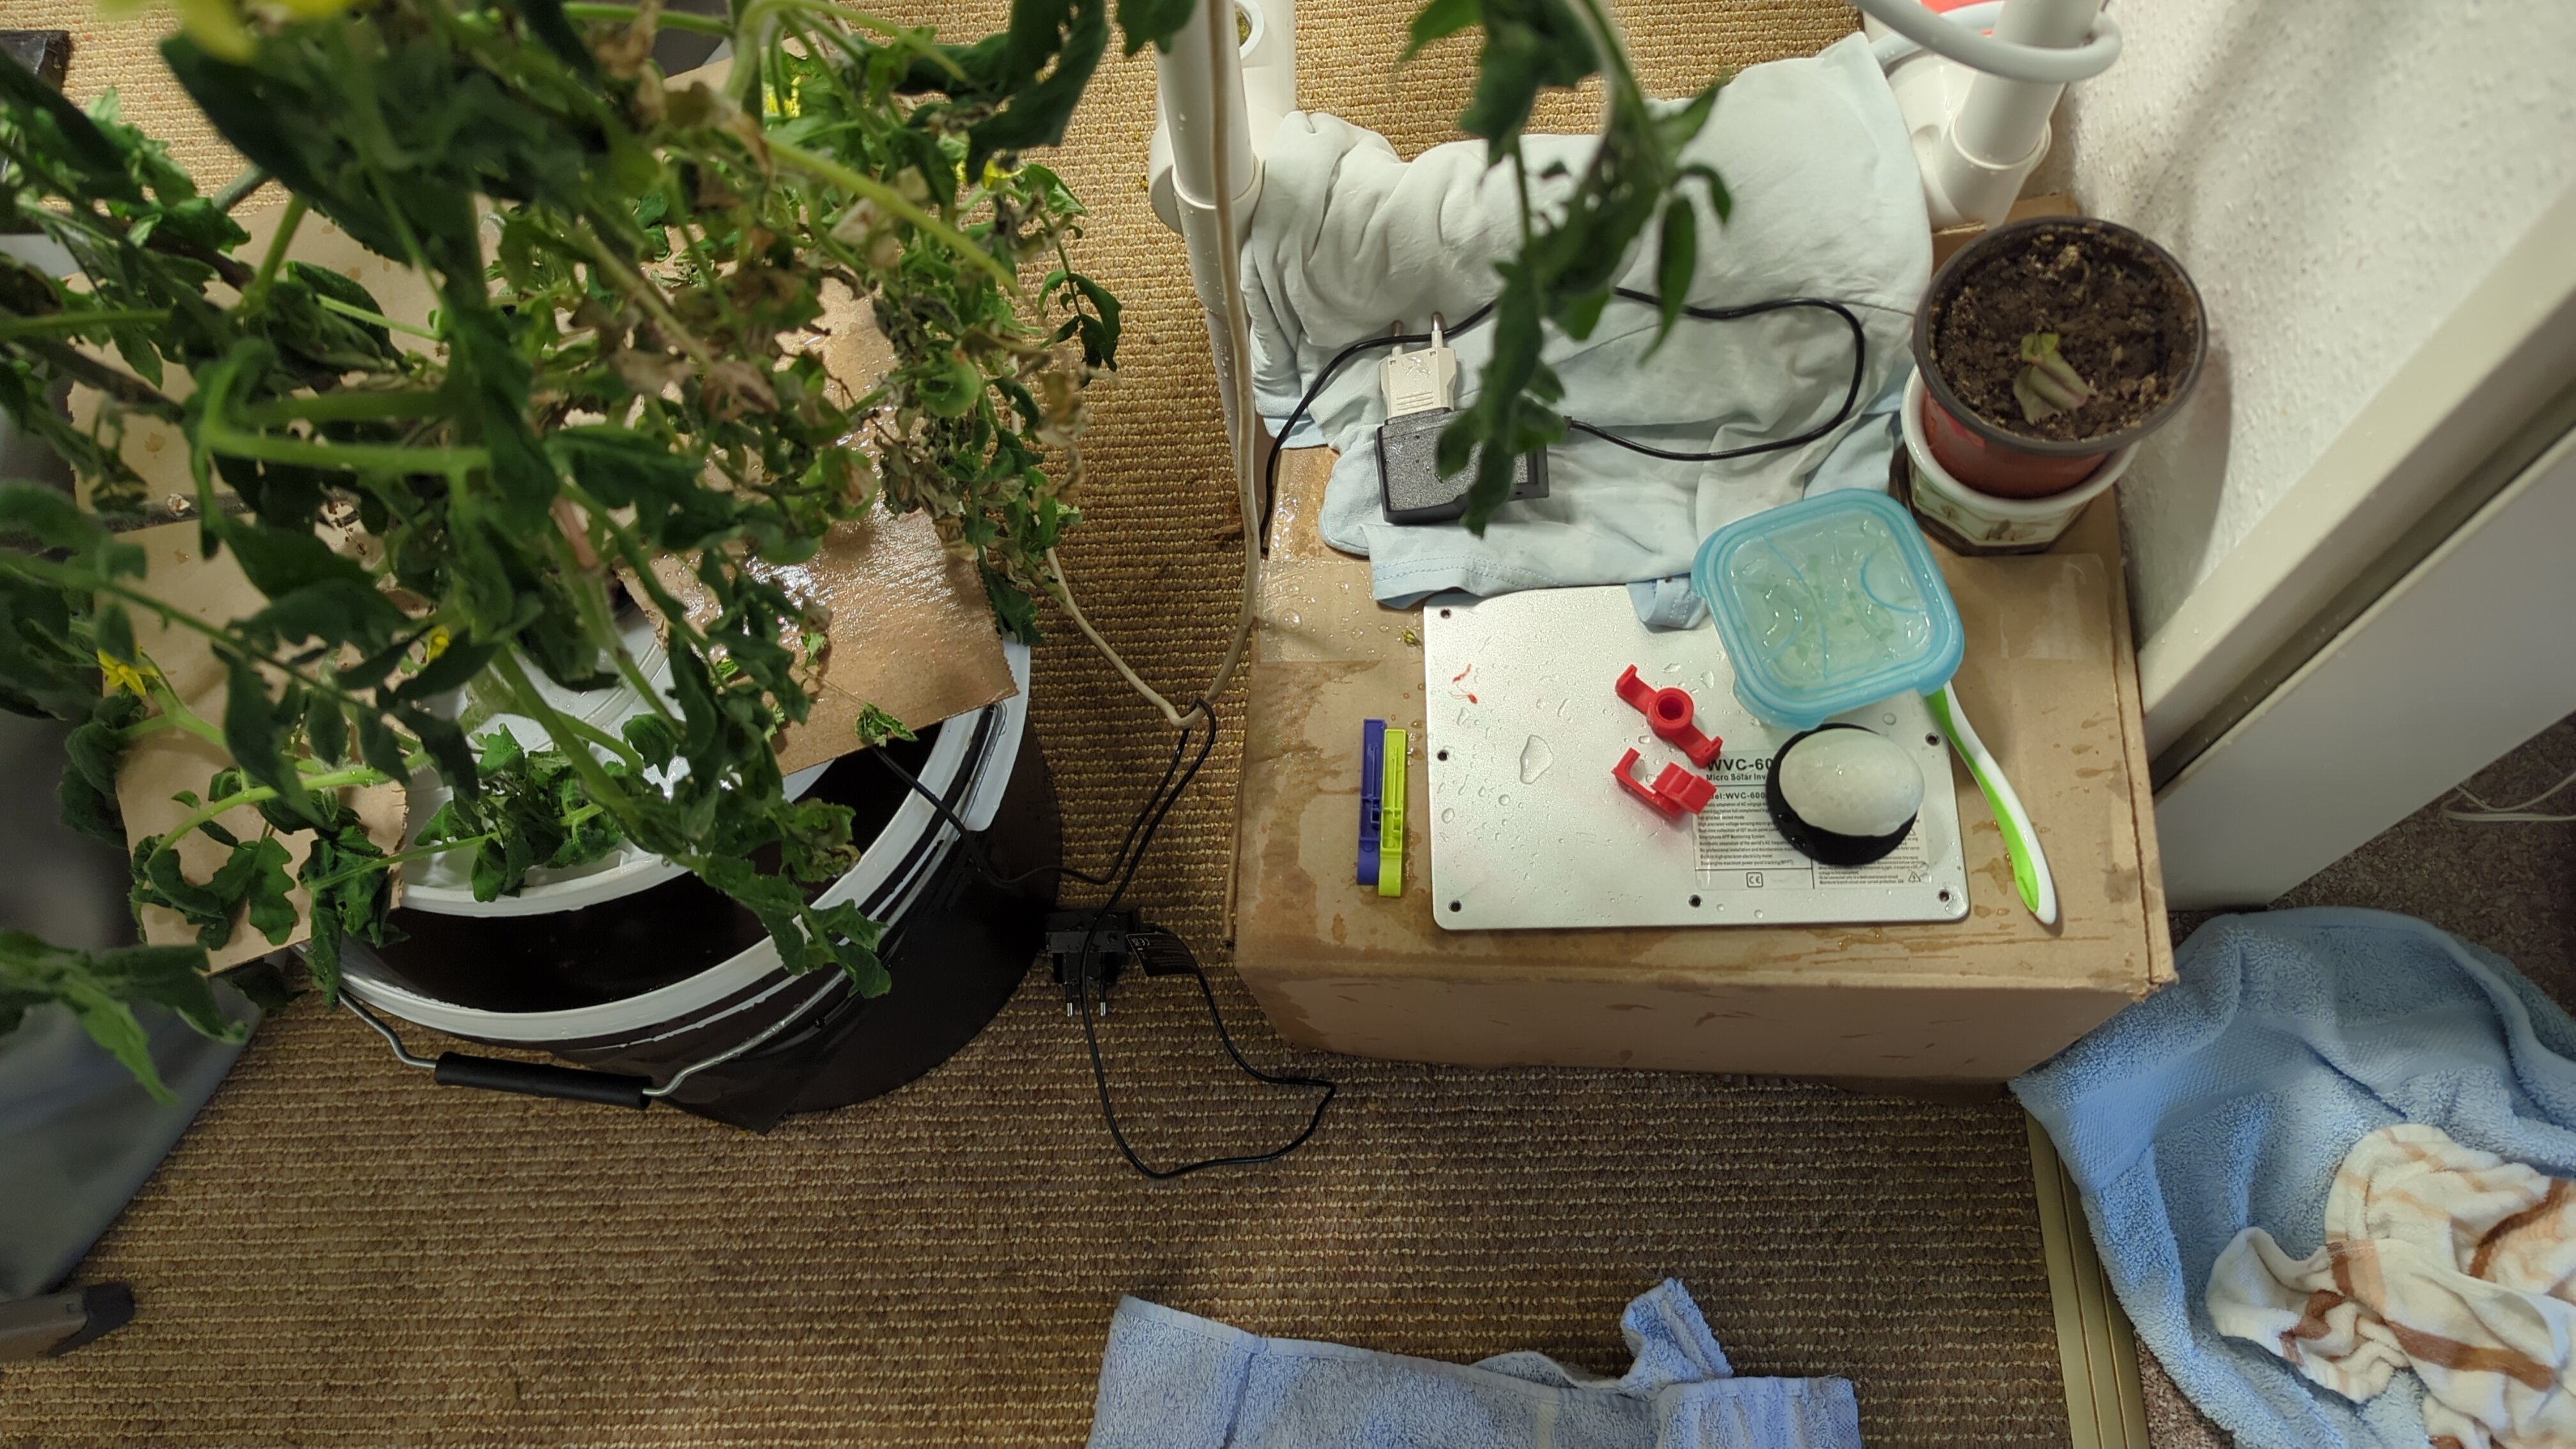
And the electric is now Waterspill protected...(bottom right, in a Bottle gift bag)

Cleaning was Probably overdue:

Finally i now own a tiny greenhouse to move the Hydro outside.

8
1
submitted 2 months ago* (last edited 2 months ago) by UxyIVrljPeRl@lemmy.world to c/hydroponics@slrpnk.net


I didnt plan to drop the Solution Bucket, but it happened, luckily after i finished so ther were maybe 5l in there and now everywhere...

TIL: People are right, i should be safer with water and Electric...

9


Hello water friends, i think about using these containers formerly filled with flavour, now empt, for some Kraftky Microgreensor typical kitchen herbs.

My base idea would be to fill them with leca or similar before planting, maybe 3d print a spacer for the bottom? Open for ideas, maybe someone already uses these?

10


One thing I love about LECA (those expanded clay balls, you know?) is that you can always reuse it indefinitely and don't have to throw it away after use.

Up until now I always just boiled it after using, which removed most of the dead roots and crap, and then I put it into the oven at full power to bake it, which burnt off all remaining organic stuff.
That wasn't a problem up until now, because I never had to clean very big amounts all at once.

But, I have two issues with it:

  • First, it cracks a few of the balls, especially those new ones I bought. They explode and shatter quite a bit, which sucks.
  • And, soon, I would have to bake about hundred liters of that stuff because of the new setup I will use this year, which is plain stupid and infeasible at this scale.

So, I had the thought of doing that cleaning chemically at room temperature, over a longer time frame.

I have thought about a few options.

  • Chlorine bleach is the cheapest idea, but I have doubts that the sodium content remaining is bad for the plants, and the traces of bleach could kill of beneficial microorganisms. Maybe I could add a neutralizing agent, like thiosulphate or vitamin C?
  • Peroxide probably isn't strong enough?
  • Enzymes could dissolve proteins and stuff, but a lot of biofilm and other organic matter probably isn't affected by it, or is it?
  • ...?

Are there any products or things I could try? Or do you have any ideas? Thanks a lot! :)

11


Hey all,

I've been using my fertilizer now for a year, and it's the only one I've used up until now, because I alway was satisfied with it, because it's both very inexpensive and well formulated imo.

I'm using the Masterblend set, with the solutions pre-mixed for short term use.

I have mixed two "stock solution" bottles, which last me a few months in winter (only for houseplants and my small indoor grow tent) and a few weeks in summer (balcony gardening + house plants). You can see the ingredients on the bottles on the picture:

They are always stored in complete darkness.

And then I have a diluted solution, with an EC of about 3-4 mS and a low pH, which I adapted to exactly match my tap water and houseplants when diluted to ~1/3. This pre-mix lasts me a few days maximum.

I've already noticed a few floaters in summer here and there, but didn't mind them too much. They looked like small jellyfish or something floating around, but I thought that they might be some precipitation from minerals or whatever.

They got a bit more after some time, and a few weeks ago, I soaked everything in hot bleach water and mixed everything from scratch, because I already had the feeling that those might be amoebae or other microorganisms.

But now, everything is way worse. Just take a look:

Those specs are even in the normal nutrient solution!

A few of my plants have a reoccurring spring tail "infestation". More like constant house mates.

I even got the chance to take a picture of them fucking. I feel like a pervert now...

No wonder they have such a good time. They're probably feasting on those mold specs. They're pretty much harmless and easy to manage, so I just don't care as much.

Anyway... What I wanted to ask you: What shall I do? Desinfecting clearly doesn't work.

The root cause seems to be the water. If I wouldn't pre-dissolve everything, nothing would get moldy.

But of course, I need it to be in a liquid form for proper handling. Other fertilizer manufacturers are able to manage this too, so why can't I?

Shall I add preservatives to the concentrate, like Isothiazolinones?

Or should I just switch to another fertilizer? If so, which one would you recommend, that is also cheap?

12


A while ago I made following post: How I built those amazing Kratky containers from protein powder jars

If you don't know, what the Kratky method is, here's the description from Wikipedia: https://en.m.wikipedia.org/wiki/Kratky_method

Those containers shown in the how-to have been in use for a few months by now, and my weed has started pre-flowering.
Two plants at once are now very hungry and thirsty, but they're growing like crazy and show absolutely great root health!

13


Hello my Hydropis, today i cut back my Tomato and switched the Reservoir to one thats dark. Did the algae become a Problem?

No, but it wasn't nice to look up and every time i had to reach in, the slime was on anything...

Old Water/Tank:

Here's my cut off:

And lastly some new Pics of my Growroom :)

14


This post is part of my "Growing saffron hydroponically" series. Check out my other posts in !hydroponics@slrpnk.net for more context.


There haven't been any new flowers since the last update a few months ago.


The saffron crocus seems to be an outside-only plant.

The growth is heavily influenced by temperature and light level.

There are basically three pots, where the bulbs are in hydro:

  • West facing window, around 21°C, low light during winter: Very tall and long leaves, slightly burnt tips (usually, the leaves are positioned to face light, and I don't fertilize heavily)
  • One corner with low light, where my calatheas live: already dead
  • South facing window, around 19-20°C, bright, even during winter, higher humidity:
  • Outside (very cold, sometimes freezing):

What did I learn?

I would say saffron crocus isn't a great indoor plant. It seems to need quite a lot of light, and due to its anticyclic growth, where most of the vegetative phase is in winter, the high temperature and suboptimal lighting indoors is just a death sentence. I really hope that the already existing plants survive.

Also, hydro is just suboptimal for that plant.

First do we have the problem of unsprouted rotting bulbs.

And also, it mostly exists passively, and when I grow it outdoors in the future, soil just seems the better choice for that kind of crop. It's just unpractical to grow it hydroponically, and when it's outside anyway, dirt is the lower maintenance option for me.

15


Here's how I built this amazing container that you can use for Kratky style setups and small DWCs.

Step 1: Get everything you'll need.
This includes:

  • The container protein powder is stored in. It has a volume of 3 liters and is already colored black. Just ask your gym buddies if they can save up a few for you.
  • A water level indicator. Mine is 18 cm long, and I bought it for two bucks in my local garden center.
  • A drill, circular saw (3 inch diameter) and a drill tip that's the diameter of your water level indicator.
  • Optional: a deburrer
  • 3 inch Netcup + some LECA + a wick

Step 2: Drill the holes After drilling them, deburr the edges

Step 3: Fill it up
For the start, I place the netcup in a tray with diluted nutrient solution. When the seedling has reached a height of a few centimetres, I place it into the container. In the beginning, I recommend an EC of 1 mS, and the water level should reach the bottom of the netcup.

Here's how it looked like after a few weeks:

And here's how it looks now:

Step 4: Cover it (optional)
Since the container is black, it can get pretty hot in full sun. Oh, and it also looks bad. You can wrap some fabric around it, or crochet a "sock" for it, which I will do soon.

The great thing about this container is that the indicator has its optimum on 1/3 fullness. That way, you don't have to worry about the reservoir running dry or having it filled up too high, suffocating the roots.

16


TL;DR: Pon caused quite a lot of problems for me, but I noticed it way too late. It got way too wet all the time, is hard to clean and reuse, and suffocated the roots. I nowadays strongly prefer clay balls (LECA).

Pon vs LECA

When I started my hydro journey about a year ago, I read a lot about different substrates and their pros and cons.

I often heard about "natural" mineralic substrates being superior to clay, because burnt clay is supposed to leach alkaline stuff into the plants and therefore killing them.

Because of that, and the great appearance, I decided to buy Pon in the beginning.

Pon is a mixture of different rocks, commonly zeolithe, lava rock, and basalt.

Compared to LECA, it's way heavier and coarse, giving the roots more grip.

Here's how it looks like:

LECA on the other hand is WAY rounder and usually bigger. It also feels a lot lighter.

The REAL difference

Now you may think "It's the same, it just looks different, and one is better for higher plants, giving them more structure".
NOPE.

The main difference is oxygen. Oxygen is key. Oxygen is love, oxygen is life.

Overwatering in soil doesn't mean too much water, it means not enough oxygen.

Plants need to breathe too, and just like us, we can hold our breath for some time, but begin to suffocate soon.

Pon has a way bigger surface area than LECA, but it wicks water just as well, if not better. This means, that it is constantly wet, and there's not as much oxygen stored inside as well as outside between the grains.

Some plants can tolerate this pretty well, especially moisture loving ones like Pothos or Calatheas. But many don't.

Also, because of the higher wicking capabilities, the top surface is constantly coated with nutrient solution, which evaporates and leaves a toxic salt crust behind.

LECA does that too, but not even remotely as prominent. That's why one should flush the pots every few months at least.

Leca is ball shaped, and has a lot of big gaps in between, and if you crack one open, it's mostly air pores.

And, another contra point of Pon is hygiene. Especially when transitioning from soil to hydro, there are always some dirt remaining, which is almost impossible to flush out. Same with dead roots and stuff.

And when you want to reuse it, Leca is way easier to boil and sieve out contaminants.

How to use each

While I personally dislike Pon, it has it's use cases.

If you look at Lechuza, one of the main Pon and pots producers, they mostly work with wicking systems, not submerged ones.

I use mostly submerged setups, meaning the cup is at max 1/3 to 1/4 filled with solution, which is constantly kept moist by capillary action.

If you use a wicking system instead, the moisture is regulated by the wick. In that case, it works relatively fine, but in my personal experience not quite as great as Leca does.

Consequences

I've killed quite a lot of plants with Pon. Mainly because of the salt build-up, which burned the roots on the top surface.

I won't throw away what I already own, but I also won't recommend it to others. Stick to Leca if you can.

17
18


It all started with my hate for dirt and the cannabis legalization... I got the very nice grow light and thought to myself there is so much light just in the room and now we are here

I also made some Time lapses but they are a bit out of date, but I finally have a new Camera(pi cam) for it. https://youtube.com/@canlapse

19


I have very hard water where I live. Sometimes, the EC of my tap water can reach up to 0,7 mS and a pH of 8,5, which makes it almost unfeasible to use it for my hydroponic stuff.

Generally, using tap water for hydro is generally not recommended, because most people don't know what's in their water, and some things can be detrimental to the plants' health.

I do know what's in there tho. Here in Germany, we have extremely high quality water and every supplier has to make the lab reports public.

I sometimes "cut" my reverse osmosis or rain water with a few parts, usually 1/4 to 1/2, tap water. This gives me a bit of a pH buffer and reduces the water consumption of my RO.

But still, adding tap water just adds "stuff", and this stuff can't be used by the plants. It's still just "waste".


A lot of what makes the water more alkaline and "hard" are carbonates, especially magnesium and calcium carbonate. The cool thing is, that those are not very stable and can be removed easily.
If you boil water, they get converted into insoluble limescale, which settles on the ground. If you then just use the already boiled water, it's already less hard and more stable.

You can even do it more effectively by using food grade phosphoric acid, which I use as pH down at 10% dilution.

Experiment

I added a few drops (~5) into my water kettle and got it to a quick boil.

Here's the pH and EC of my tap water before adding or doing anything:

Here's how it looked like just after adding the acid and boiling it:

And here's the morning after:

The EC effectively got reduced by almost half!

What happened is that the phosphoric acid neutralized the Ca- and Mg carbonates and formed according phosphates, which are all insoluble and precipitate out of solution, making it cloudy.

Hereby adding something removes things. Cool, right?

What's even cooler is that other minerals, which didn't precipitate out of solution, can then act as buffer compounds, making the nutrient solution more stable against pH fluctuations.

Application in everyday use

The effect isn't super strong. Using RO or rain water is still not optional for me, I need it.

But this technique allows me to use way more "cheap" tap water than before, and adds some nice benefits too.

It's winter right now. Go and make yourself a hotty. You'll feel better for a few hours, and when it's gone cold, you can use it for your plants.

Don't just waste energy by boiling water. Make use of it and then make your plants happy with it! 😉

20


geteilt von: https://vegantheoryclub.org/post/762372

They're small and idk 3 weeks old, no signs of deficiency aside from blossom end rot.

Was set up with Manutec 1L Hydroponic NK Plus For Fruit And Veg. Water is about half depleted, has been hot so possibly nutrients are concentrated?

pH had risen to about 7 from 6.5. I readjusted it to about 6.5. In dirt this range would be fine for calcium transport.

Oh hydroponic wisdom people, enlighten me. Should I just remix new solution? Add a supplement? Is pH for transport different in hydro?

21


A while ago I made a post on my project "Growing carnivorous plants hydroponically", because I was frustrated that pretty much no one tried finding suitable alternative substrates to peat or conventional setups.

You can find the initial post here: https://slrpnk.net/post/15097559


Nepenthes

Those seemed to be the easiest.

According to some sources, contrary to other CPs, they don't grow in bogs (very acidic, waterlogged, etc.), but rather prefer "normal" substrates, more similar to conventional houseplants, and even prefer more dim lighting conditions.

I was even able to find a few anecdotes of a few people here and there in some CP forums who at least tried growing them in inorganic substrates.

I bought two grown up plants a month ago and successfully transitioned them, but I already mentioned that in my last post afaik.

Both look relatively healthy. The transition from soil to hydro is super stressful for most plants, these included, and because of this the pitchers died back to regenerate the root system.

The greener plant already grew the first new pitcher, which I fed with a small shrimp I had lying around. I also fed the reddish one, but the (old) pitchers started stinking very fouly, so I had to empty them.

They are both living in LECA and get treated similarly to orchids.
EC 0,5 mS, normal pH, and indirect light. From what I've heard, the pitchers only form when needed, so if I overdo it with the ferilizer, they might die back. So I have to find an acceptable EC that they're happy with.

Both seem to regenerate from the stress pretty well and are already growing new leaves.

Sarracenia

Since the last post, not much has happened.

Sarracenias need some hibernation, so I placed it into a clear box and put it outside at around freezing temperatures.

It looks like it's dying, but this is seemingly normal and healthy.

I regularly cut back the crispy leaves, and when I accidentally dropped the pot a while back ago, I saw new, healthy roots already forming.

Remember, this picture is already a month old, so they might look completely different by now.

The substrate is pon, which I soaked multiple times before with distilled water and then added fertilizer and a few drops of phosphoric acid (pH down) to an EC of about 0,3 mS to mimic the conditions of peat a little bit.

Seems to work fine for now!

Seeds

I bought some cheap seeds from a hobbyist and started sowing them a few weeks ago. Those were different Drosera, Sarracenia and Venus fly trap seeds.

I pre-treated them with a soak of gibberelic acid to make them germinate faster, and many of them are now outside next to the Sarracenia, because they need some stratification first.

I believe none of them started sprouting yet, but that apparently is relatively normal, so I don't panic yet ;)

As soon as a few of them germinate, I will post another update if someone is interested :)

22


I don't have a garden and need to utilize the most of my balcony space.

That's why I am thinking about building or buying a vertical hydroponic setup for the next season.

The thing is: pretty much all of the inspiration for setups I saw online were either aeroponic towers or NFT systems, both of which require a pump running 24/7.
I don't want something where one single pump failure, clogged nozzle or power outage kills everything. Also, I absolutely can't stand the humming or splashing of any pump.

I want to grow mainly small annual crops, like herbs, leafy greens and stuff like that. For bigger crops, like chilis, hemp, and so on, I have my drip system with pots.

While I theoretically have access to the grid, I prefer something either completely passive, or something that at least keeps the roots hydrated enough to survive a few days, even in summer sun.

Something similar to my solar powered LECA drip setup I posted a while ago: it's beneficial when the small pump is on, but the passive wicking of the clay balls keeps everything moist enough for at least a few days.

It doesn't need to be 100% passive, but it also shouldn't depend on electronic devices for survival.

What could you suggest?

23


When I did my routine inspection of my house plants I noticed small grey bugs bustling around in the root and lower stem zone.

This seems to affect a big portion of my ~50 plants. I didn't inspect every pot yet, but they are hard to notice, because they only swarm out when I shake the container or flood it.

I believe those are thrips or springtails, but I also believe it doesn't matter much anyway, because I want to get rid of them ASAP. But I can attach some microscope pictures if somebody is interested :)

I already treated a few plants over the last few days by filling up the pots with lukewarm water, a drop of very mild surfactant (Coco glucoside) and a splash of hydrogen peroxide. I let it soak for half an hour or so and then flushed it out in the shower.

This seemed to help, but would be a huge pain to do for every plant I own, and if there's one bug or egg left, I can do it again in a few weeks.

Therefore, I need some kind of insecticide. Neem oil is the old classic, but I don't want it to be in the substrate itself, because if it decomposes, it might leave a big mess.

Are there any more potent or common alternatives out there? Can you recommend something?

Any ideas what I should do next?

Edit: These seem to be springtails. Here are a few pictures under the microscope:

24


IT DECIDED TO BLOOM!

Spoiler, sad newsIn dirt. Outside. Not in hydro.

What did I learn? Saffron crocus (Crocus sativus) seems to need a cold shock and/ or short days to get the signal to bloom.

This means, that I probably (hopefully) just need to wait until the days get shorter. Optimistically. Or, worse, it needs cold temperatures, which means, that I have to place every pot with the bulbs inside onto my balcony, making the indoor plant aspect obsolete.


Also, I accidentally dropped a pot, so I had to repot the already germinated bulbs.

I noticed that the skin of them peeled off and started rotting. I really hope that this won't attract too many fungus gnats, or I'll get mad. This means, that I have to flush the pots now regularily to get off any dead plant matter. This fucking sucks man.

I really really hope that I even like the taste of saffron. This is such a fucking pain. If it also tastes like grandpas' arse, like the only time I tried commercial saffron, I'm gonna cry man.

Cheers.

25
1
submitted 5 months ago* (last edited 5 months ago) by Guenther_Amanita@slrpnk.net to c/hydroponics@slrpnk.net


A month ago I made my first post about the hydroponic saffron (Crocus sativus).
Here's the post if you haven't seen it.

First, I'll start with the bad news: No saffron for me this year :(
It hasn't flowered yet, and probably won't do that for the next months.

Crocus sativus is very boring. It looks absolutely unremarkable, similar to grass, is mostly passive/ hibernates most of the year, and only blooms in late fall for a few days, and then goes back into stasis for the rest of the year.

Also, I had a few fungus gnats here and there, because the bulbs had some kind of skin around them, which is decomposing now. But I don't see this as a big problem. I already added some beneficial microbes when I planted it, and those do their job pretty well. I just flush the container every few weeks to get out all organic stuff.

The good news is, that most of them look very healthy!
The roots already expanded quite a bit, in a few cases, they already colonized the whole substrate. Especially those in LECA look the best. My biggest one is already ~15 cm tall.

Some things I learned:

  • The plants grow very slow, and therefore, don't like too much fertilizer. I try to keep my EC around 0,5 mS for the winter, and experimentally increase it on one test plant to see how much they tolerate and how they react to it.
  • They are boring and passive. I will keep them in pots until I can split the bulbs next year, and then either plant them as co-plants somewhere, or just place them outdoors to save some space and pots.
  • You'll have to be very patient. The amount of bulbs I bought (about 40 pcs) isn't enough. You need about 100-150 flowers to get one gram of saffron. And those need some space. Growing them indoors feels a bit like waste when I think about what else I could grow instead.

Pictures

My pot with a citrus tree sapling in it:

Here's a picture from Wikipedia how it might look like when it blooms.

view more: next ›