Thank you for your insight.
xzot746
joined 2 years ago
She is probably even more stupid than that comment. She is part of the MAGAt cult and nothing will change her mind.
What are your thoughts on the issue of dust with cultured stone, is it similar for real stone as well?
Well that's a bunch of bullshit that we need to watch for with everything we're told. Critical thinking skills are going to be more important than ever.
That being said, there are plenty of companies taking advantage of the TFW program in Canada, most people think that they do this because they can hire cheaper labour, well that isn't really the case. To me most of the TFW's in fast food are being taken advantage of, as the franchise owner can own the house they rent, dictate what hours they work (not needing to deal with student of parents who might need flexibility for picking up kids), and the constant threat of losing your job and being sent back to wherever they're from.
You cannot put the same restrictions on Canadians, so maybe there is an economically distraught area and plenty of people would work at a fast food restaurant, but the franchise owner would rather a TFW because they have way more control.
Now the TFWs themselves are doing nothing wrong by trying to improve their lives and families situation, but to me it is a new form of slavery where your still stuck at the whims of the owner.
The situation is a mess and like our healthcare industry the government isn't doing much to make it better for Canadians only for corporations.
BTW fuck Tim Hortons, they're as Canadian as McDonalds, not very!
Who would have thought that Iran might save the USA 🙄
Correct, they can print all the money they want, it's fake tied to nothing.
TACO will just say some stupid thing to justify it and it will continue. It has been shown that there are no checks and balances that can be or willing to be put in place.
I didn't read the article but again it's another reminder that the mainstream news isn't going to really report in anything.
ICE budget over by a billion, yeah no shit did you think all these cosplayers were already in the payroll and just hanging out at their bases looking at all the gear they have.
And all the untreated waste that gets dumped into the rivers as well.
Yeah 5 yrs for something that in no way harmed anyone, or took anything from anyone. Are these execs and studios losing money (I mean beyond the ways they set up to make them always lose money so no decent bonuses are paid).
Meanwhile some folks just getting by who wouldn't been able to afford (maybe maybe not) to go see it or buy it (again and again because we changed 1 frame and called it the director's cut, George), they get this crazy sentence.
If you're going to rip people off then you might as well go all the way as there doesn't seem to be any logic to sentences.
Guaranteed that someone in office got paid to make this happen, but that is stating the obvious because the majority of politicians are bought and paid for by business and somehow that is alright.
And I don't agree with shooting the studio execs. You can be way more effective shooting the ones bribing (aka lobbying) and the ones being lobbied (the many blood sucking parasites).
You always hear that violence isn't the answer, well look around because the people saying that don't seem to have an issue with it, they just don't want it to them, but no problem for them to do it to you.
The US is a great example of this, 2nd amendment blah blah blah, the ones who were the loudest have STFU because they only wanted those rights for them, and they now have them and the get to go cosplay CounterStrike for real, lie and conceal their identity (which should be so frigging illegal) and drag you off somewhere and you hope it's only to some private prison but there will be many that just end up disappeared.
What a time to be alive, your role (since we've gotten rid of Kings) is to be a serf to checks notes new Kings called Corporations, cause Bezos needs that fucking boat and wedding in Venice and fuck you you will do as told.
All the dystopian movies are being used as a play book and the citizens just seems to think it will end when the movie does.
I am always amazed at how many people do not understand this. Phone companies right before they started becoming almost "essential", power companies, water/sanitation companies, healthcare "you know excluding eyes and teeth because they have nothing to do with healthcare" that they're pushing to privatize, etc etc. So why does anyone think that privatizing Canada Post will be any different, and sure as shit it will be some stupid Tech company that will just have another means to amass your information to sell.
Now don't get me wrong, there needs to be a change at Canada Post (and the CBC but that's another topic), but privatization is not the answer, and neither is the current way it's going. The person who mentioned how Ireland has adapted their postal service makes a valid point and it should be looked at.
Canadians will not be better served by privatization but some greedy asshole billionaire will, unless it gets bought by the employees.
Yes government organizations are rife with inefficiencies but it would be better to attempt to solve those problems.
I do not get a lot of useful mail from Canada Post, but that doesn't mean it isn't a valuable service for Canadians. There just needs to be less junk mail what a complete waste of resources, and why the hell do companies have the right to force their trash on me. Bet that gets better with privization /s
Came here to say the exact same thing.
It doesn't matter if it is true or not (not just this topic) but if you repeat the lie enough and gaslight the public it becomes true, and if it doesn't so what, what are you going to do about it.
NOTHING that is what they are counting on.
Keep up the protests, the No Kings protest was huge even if MSM is downplaying it.
Or "Might as well do EVIL", what is anybody going to do about it, maybe make some noise but we just pay off TACO and we good.
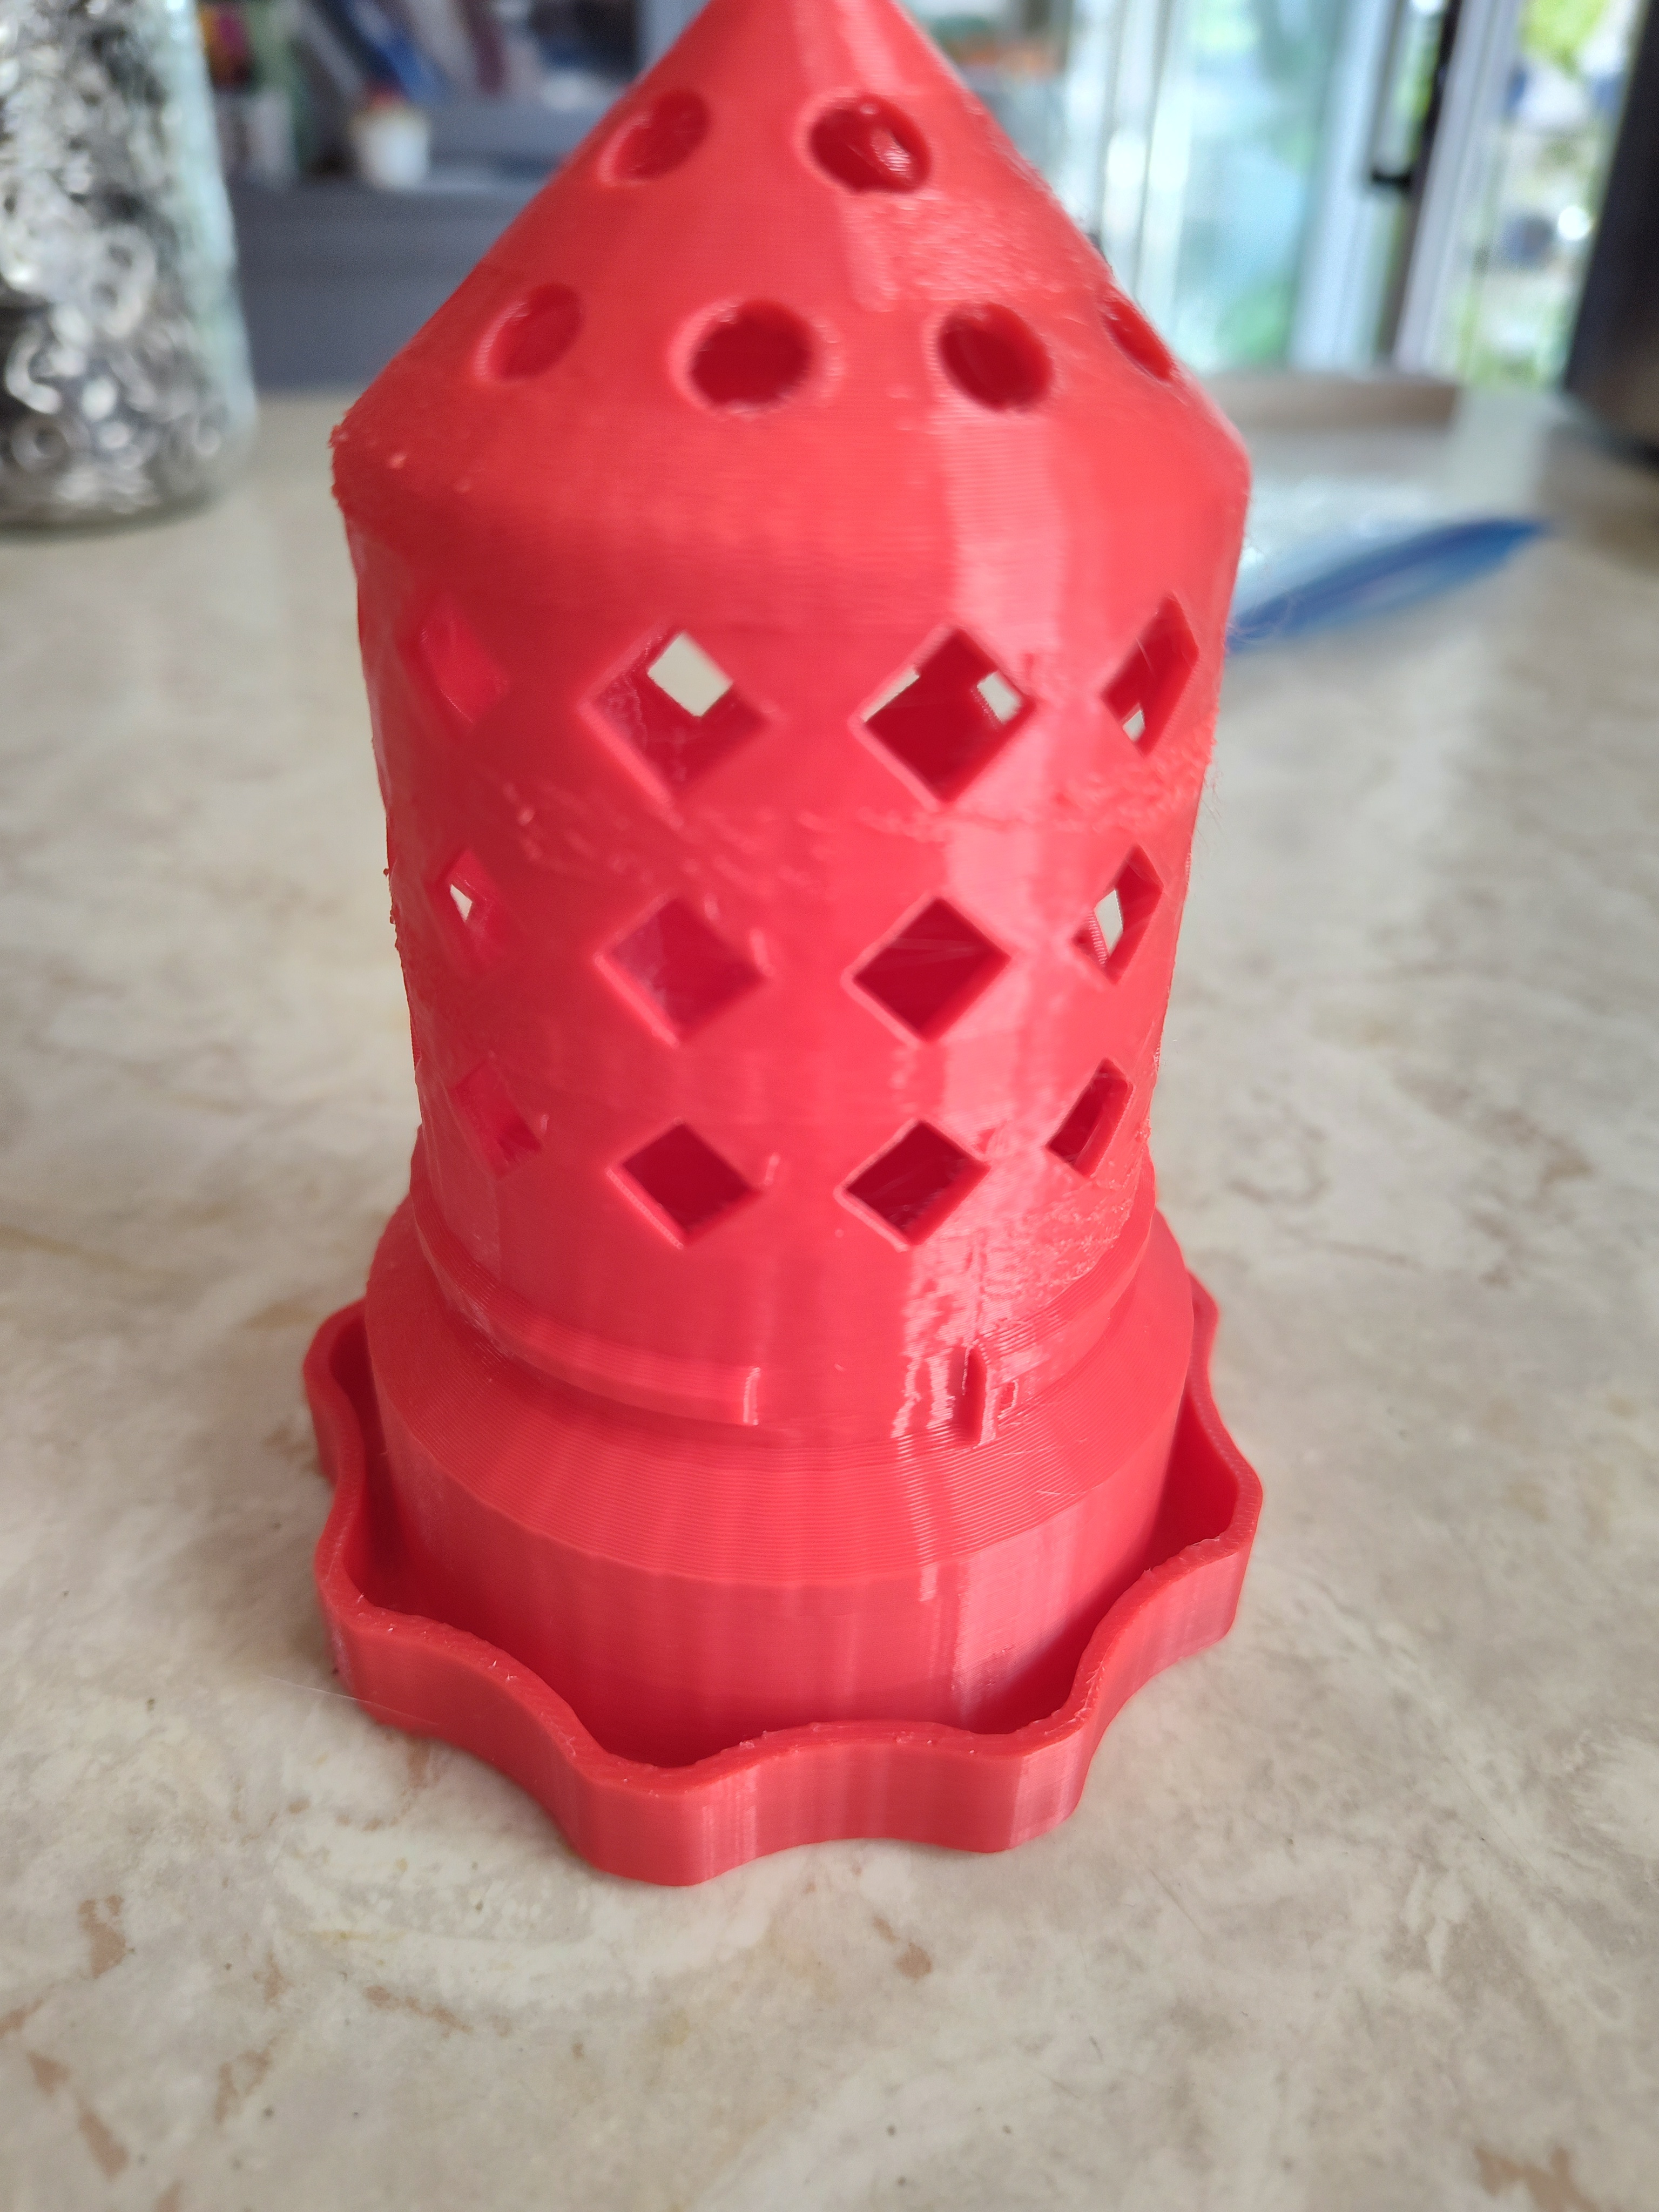
I have a K1 Max and mostly it is running great, however I get strange artifacts on mostly only the front side of curved objects.
I have lubed all the rods, and I have a Capricorn PTFE tube from the filament sensor to the hot end. I tried the printable guide for the tube to go into the hot end but it wasn't any better and I thought that was the culprit at first.
I have an extension piece to raise up the top glass.
I'm using Elegoo Rapid PTEG running at 240c and 250mm outerwall speed. This is mainly happening on the front side and anywhere on the build plate. Filament is dry and fed out of the Creality Space dryer.
These items are small netcups but it was also happening on the larger sections that they go in.
Using Orcaslicer and Arachne wall generator.

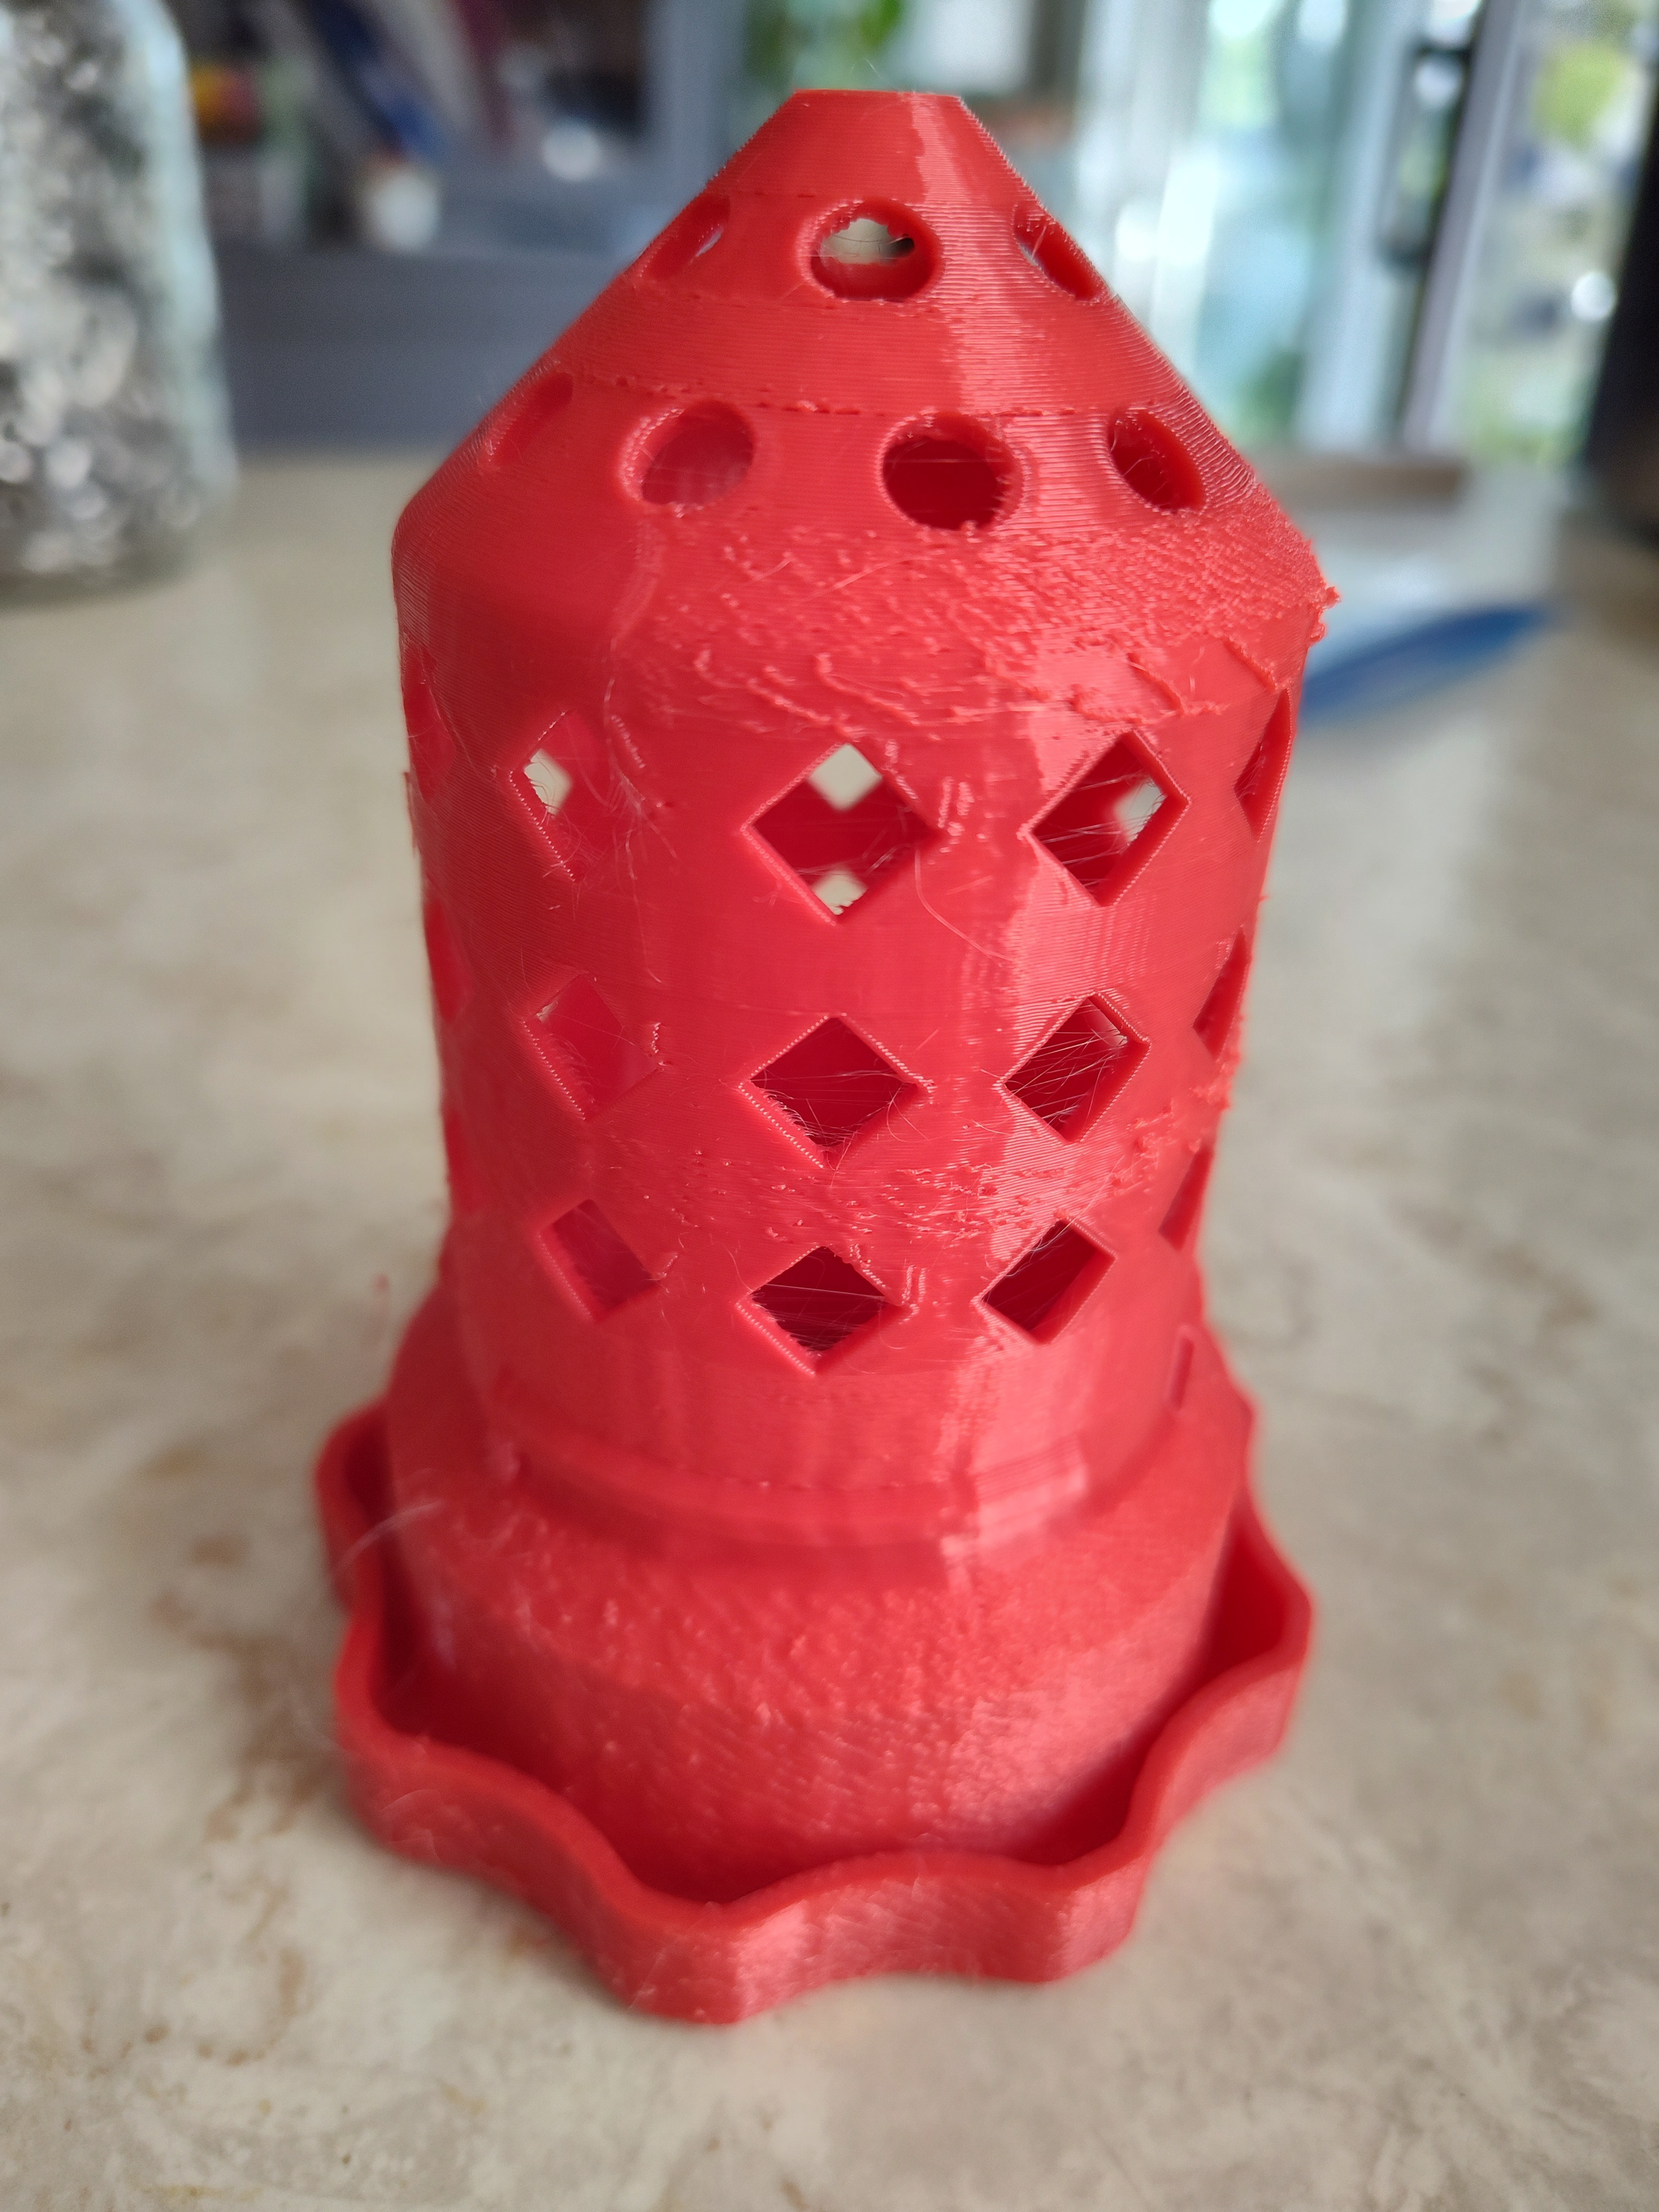

Any ideas where I need to be focusing my attention on?
view more: next ›
And we ain't taking him back.