3DPrinting
3DPrinting is a place where makers of all skill levels and walks of life can learn about and discuss 3D printing and development of 3D printed parts and devices.
The r/functionalprint community is now located at: or !functionalprint@fedia.io
There are CAD communities available at: !cad@lemmy.world or !freecad@lemmy.ml
Rules
-
No bigotry - including racism, sexism, ableism, homophobia, transphobia, or xenophobia. Code of Conduct.
-
Be respectful, especially when disagreeing. Everyone should feel welcome here.
-
No porn (NSFW prints are acceptable but must be marked NSFW)
-
No Ads / Spamming / Guerrilla Marketing
-
Do not create links to reddit
-
If you see an issue please flag it
-
No guns
-
No injury gore posts
If you need an easy way to host pictures, https://catbox.moe/ may be an option. Be ethical about what you post and donate if you are able or use this a lot. It is just an individual hosting content, not a company. The image embedding syntax for Lemmy is 
Moderation policy: Light, mostly invisible
view the rest of the comments

I got PETG working on my Mini clone by basically just switching to 0.6 nozzle profiles from the wizard and using the generic PETG profile.
But, if you’re new to PETG, know that it gets real moisture sensitive, real fast. Sounds like you might benefit from trying to dry the filament out, check the web for more on that.
After making sure the filament was dry and that my initial layer is good, because changing nozzles means you need to fine tune the z offset again, I would print a retraction tower test and dial in retraction length settings.
That a good basic troubleshooting list.
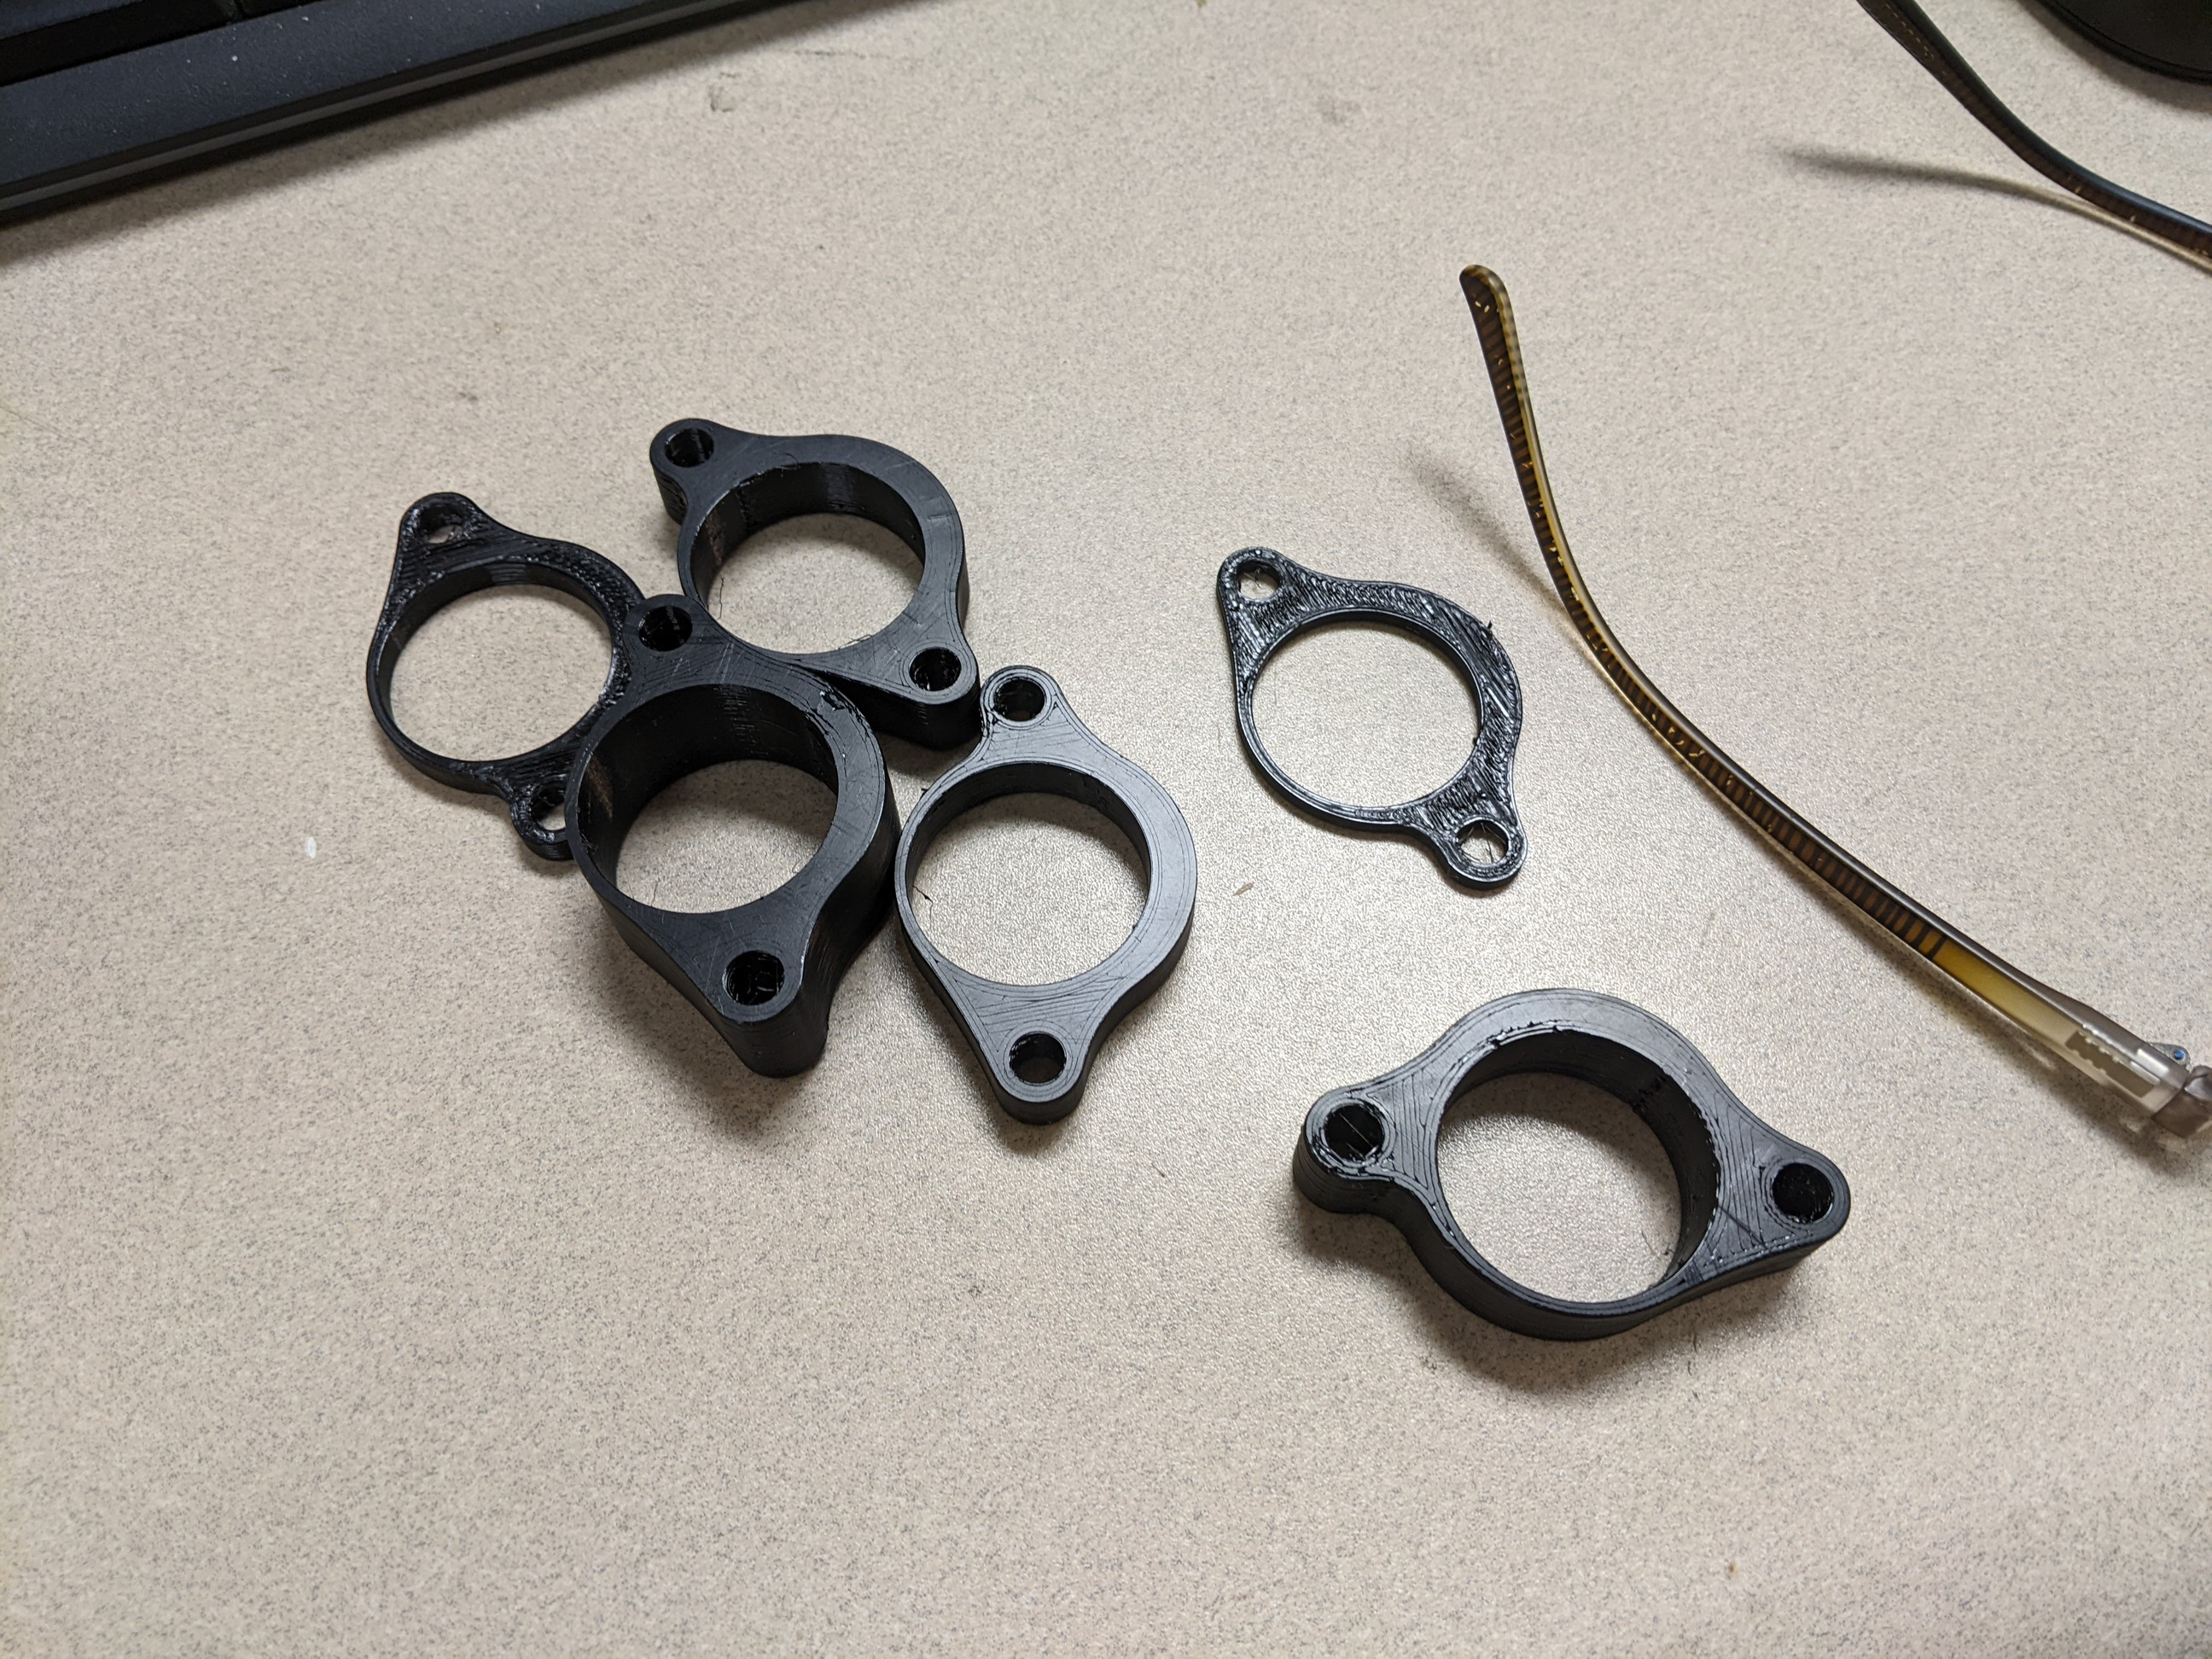
Z was recalibrated already. I'll try a 50c bake for a few hours to get rid of moisture.
Ordinarily, I'd expect to see evidence of bubbling/snapping at the nozzle as water boils out while laying down plastic. No obvious signs of that though.
Stringing and nozzle buildup are the general signs I get with petg being damp, extreme cases it'll have noticeable bubble, I've found that I need to run 12+ hours at 54c to dry it sufficiently, even on relatively fresh spools depending on the supplier, age etc. I also recommend securing your spools if they're paper based, had the adhesive melt on one and the entire thing fall to pieces, I just rewound it onto an empty plastic spool I had.
Edit. I just looked at the pics, yeah it also looks like you have some overexrusion, I tend to slightly underextrude petg because of nozzle buildup. I'd start with the standard prusa profiles and tweak from there, generally had good luck modifying the prusament profiles to work with other filament.